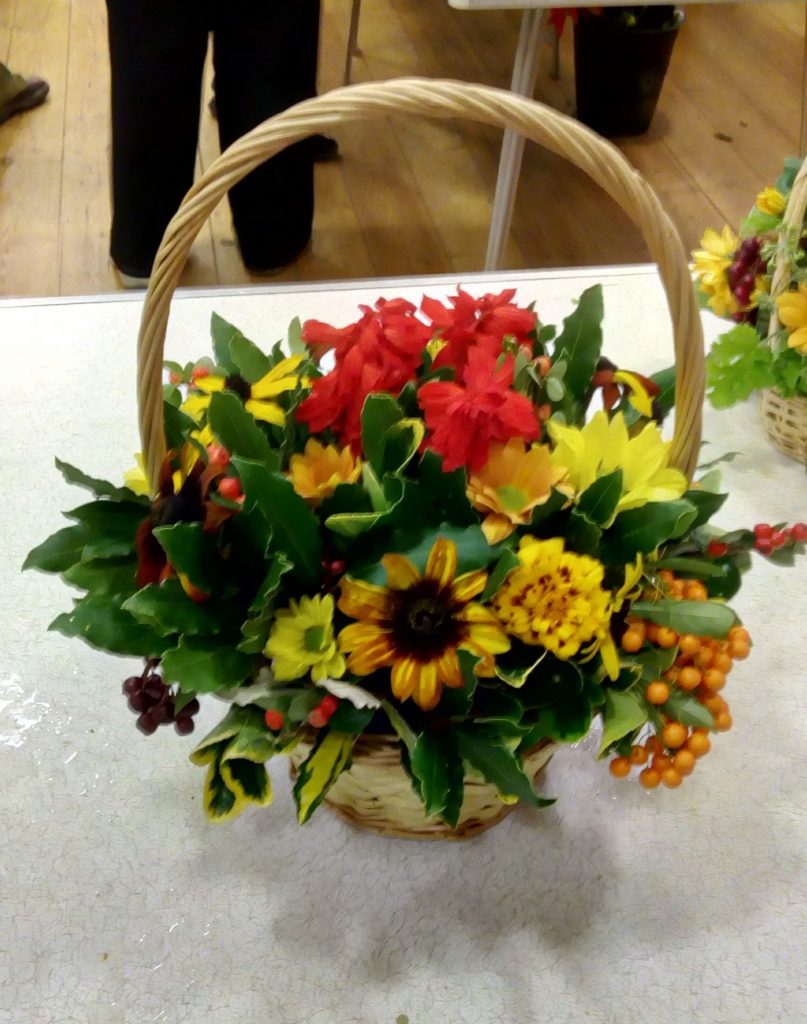
In September 2018 I started attending a floral art class. I’ve always liked flowers and arranging them in vases, but I’d never experimented further than that. The class was held every other Tuesday evening. During the first part of the class, everyone would make their arrangement. Then, the instructors would walk around the room, with all the participants joining in, to offer praise and constructive criticism in a very relaxed and good-natured way. There would then be a tea and coffee break, with the chance for a chat. In the second half of the evening, the instructor would demonstrate an arrangement, which the class would make in the next lesson. This was my first attempt at a Basket of Autumn Colours.
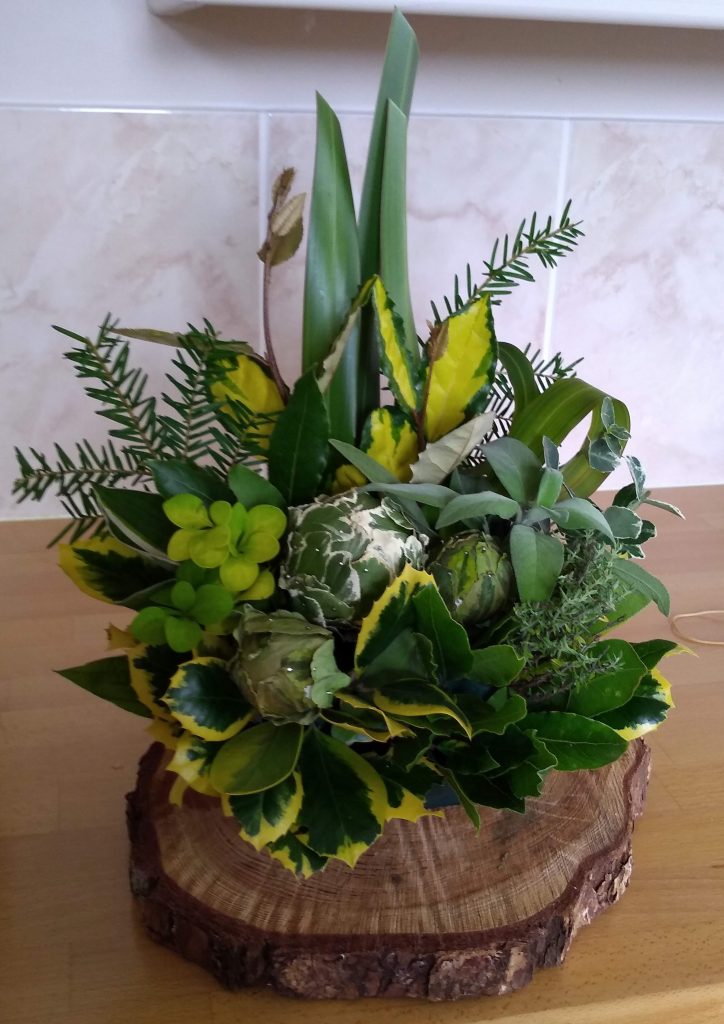
This was another early attempt using only foliage. I was amazed at how different leaves could make such an attractive display. The container is placed on a slice of wood from a tree. In the class the instructor used a similar addition to show off her display. I tried everywhere to find something similar to purchase, but without success. However, when out for a walk one day, some tree surgeons were felling trees. I rather cheekily asked one of them if he would cut me a slice off the trunk of the tree he had just cut down. Well, nothing ventured, nothing gained.
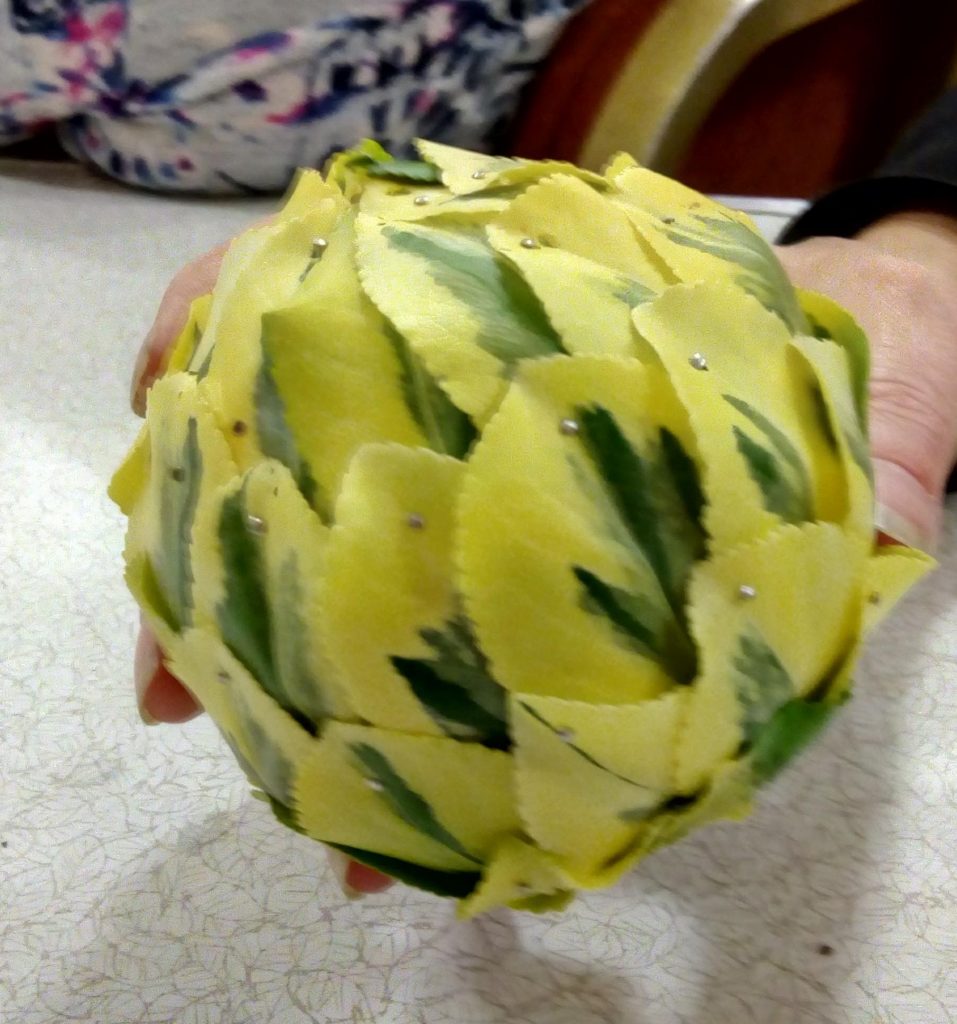
This is one of the items we learned to make in our floral art class. It’s a polystyrene ball covered in leaves. You start at one end and, overlapping the leaves as you go, pin them in place. If you should decide to attempt this, I can tell you from experience to overlap the leaves quite a bit as they shrink as they dry out, leaving gaps if you are not careful. Also, some leaves are better suited to this than others, but you can only find this out by experimenting. However, once completed, these balls will keep for a long time, so very useful. If you look carefully on the foliage arrangement in the photo above you can see one of these spheres in the centre.
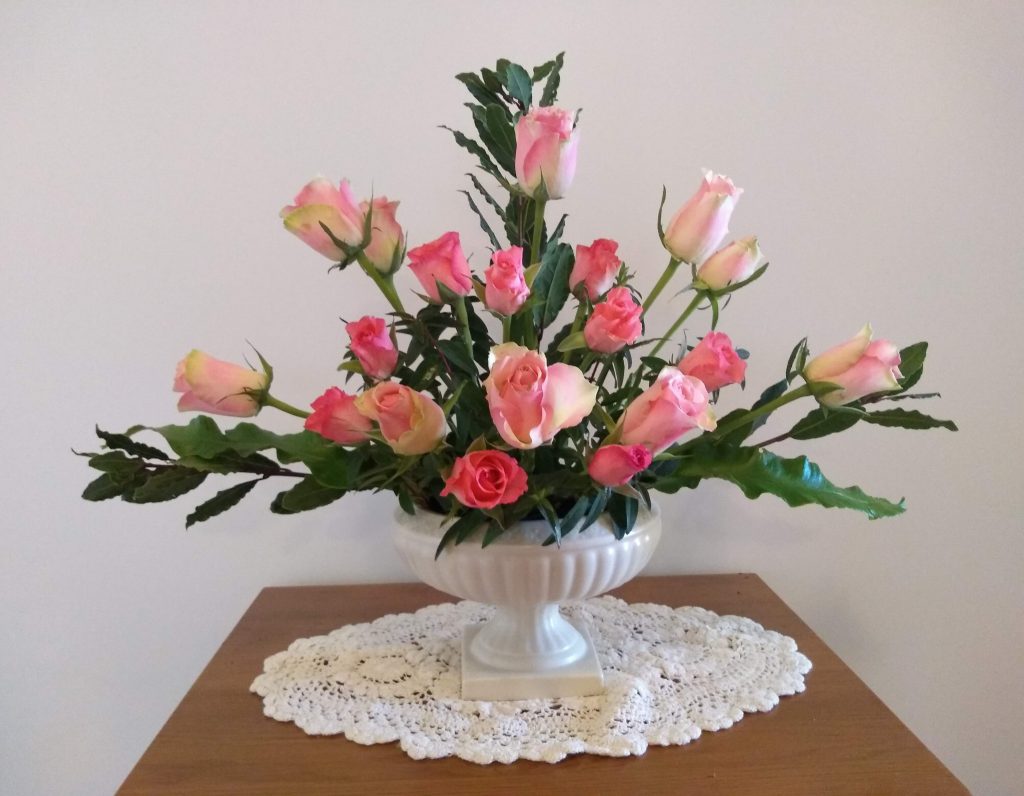
I had no idea there was so much involved with floral art and soon found out some arrangements were easier than others. Over the weeks, we tackled vertical and horizontal displays, as well as triangular arrangements. This is my horizontal effort using pink roses, ferns and bay leaves.
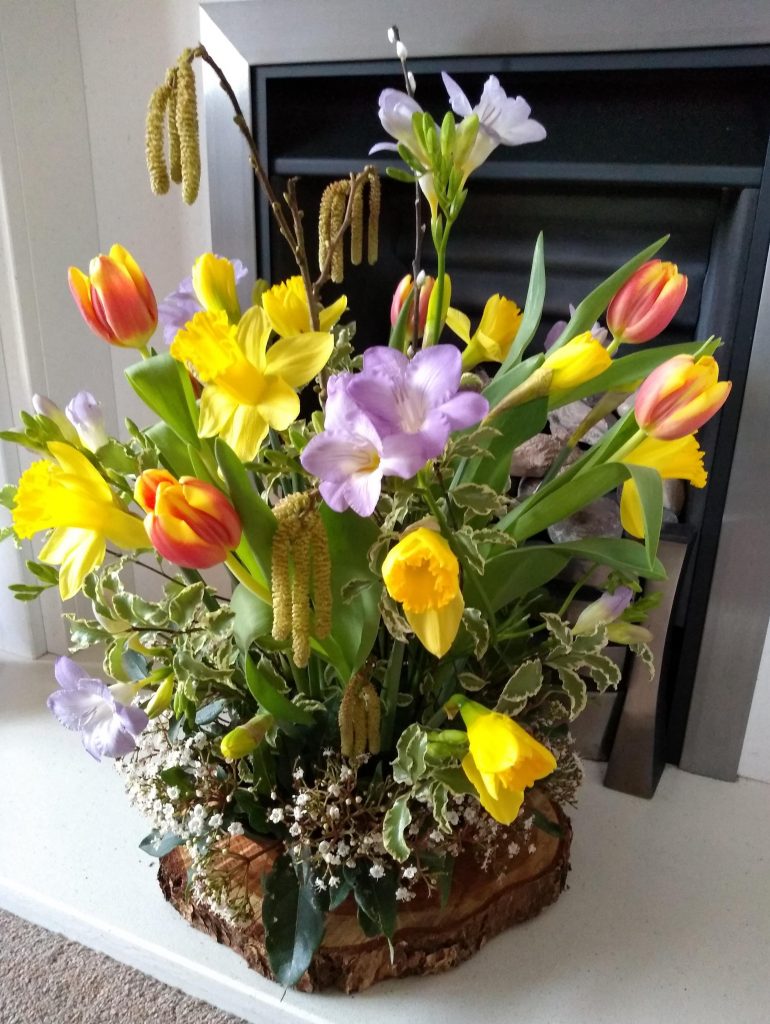
This is a Spring arrangement using daffodils, tulips and freesias. Generally speaking, daffodils are not suitable for using in arrangements with floral foam or oasis, as they have very fleshy stems. Nevertheless, these kept well for a week or so. It is important to “condition” all flowers and foliage before you use them in an arrangement. To do this, cut an inch or so off the stem at a 45 degree angle, and let them have a good drink in cold water for at least a couple of hours or overnight. Cutting the stems at an angle allows them to absorb more water. I used catkins in this arrangement and found out to my cost that I am allergic to the pollen!
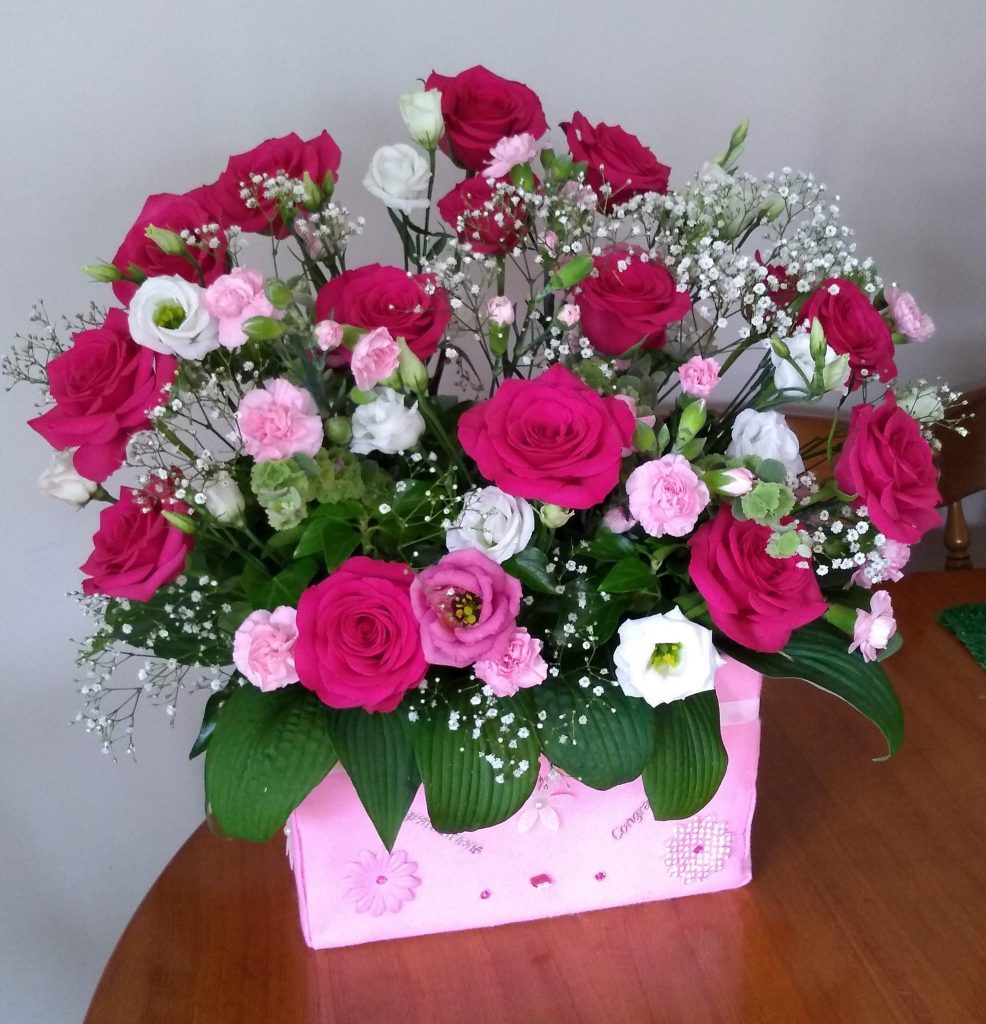
The village I live in, holds an annual fete every year, on the last Saturday in July. There are several classes for floral art so in 2019 I entered a few exhibits. The challenge for this one was to create a “Box of Joy” suitable for baby girl or baby boy. I decorated a box with pink felt and stuck on various bits and pieces. The flowers I used are red roses, pinks, gypsophila and pink and white lisianthus.
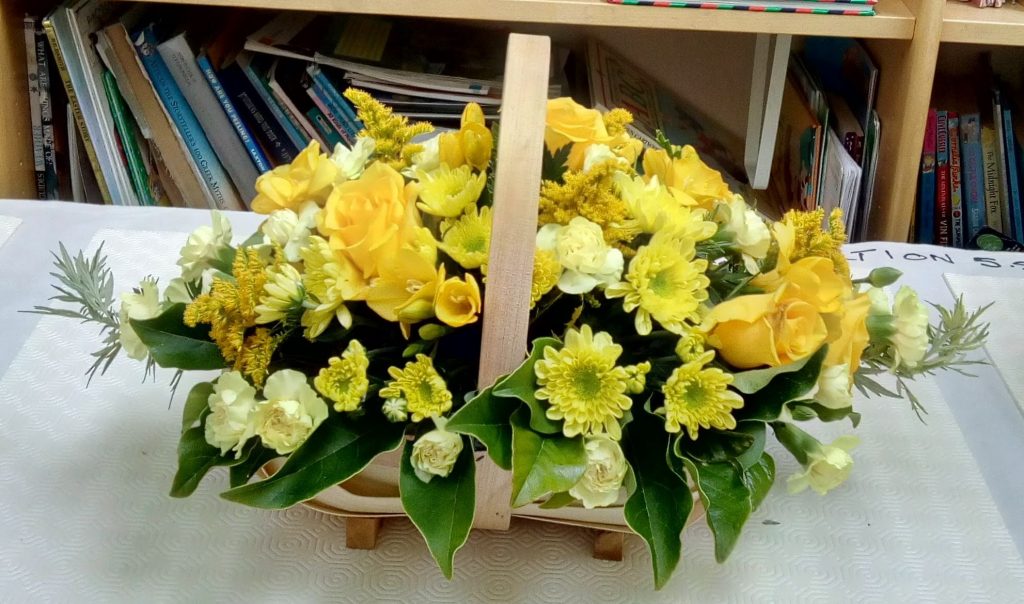
This was another of my entries into the village show and this one was entitled “A Basket of Sunshine”, For this one I used yellow roses and chrysanthemums, pale yellow carnations and golden rod from my garden.
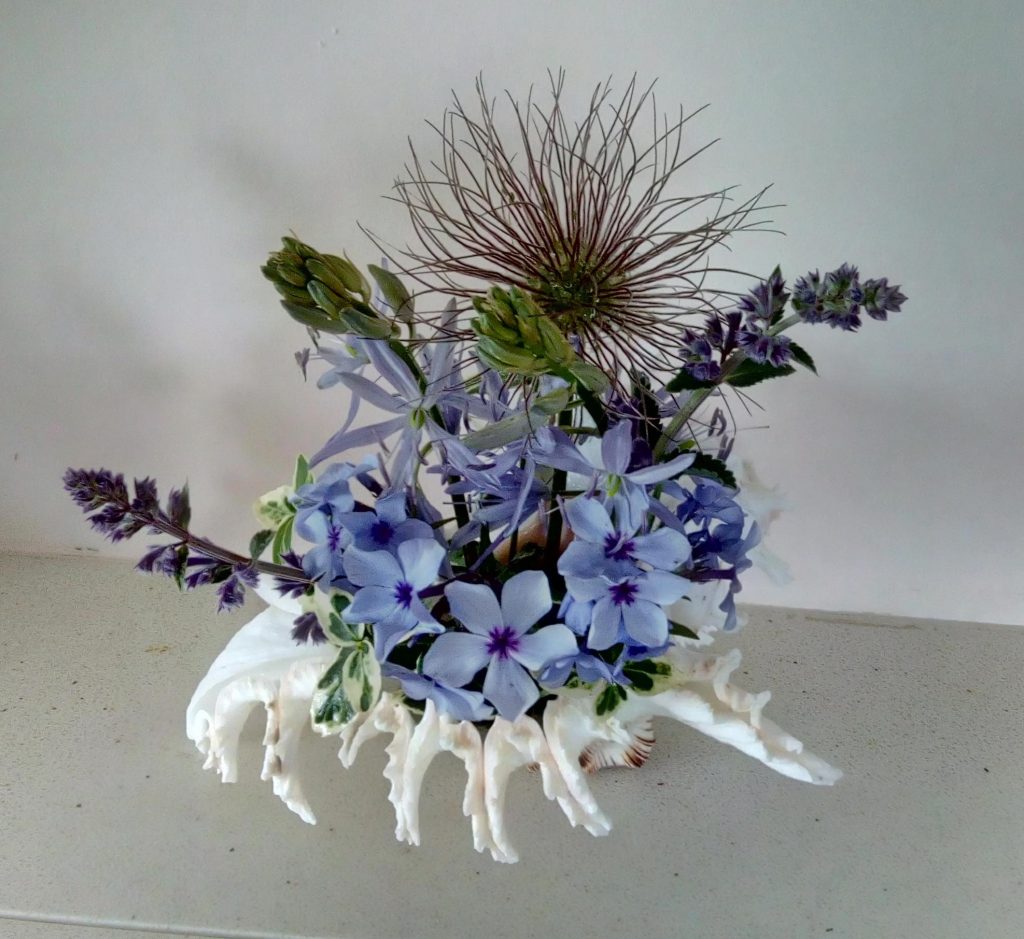
Another show entry and this time the task was to create an arrangement in a sea-shell. All of these flowers were from my garden.
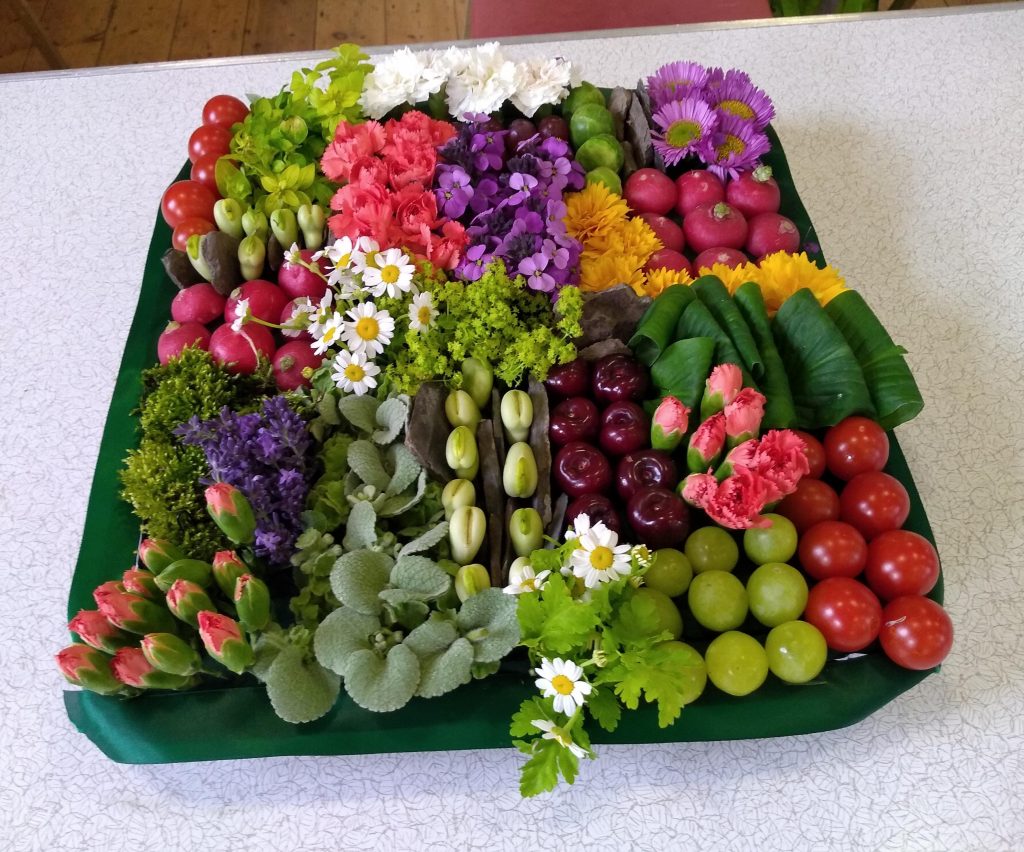
This was a mosaic that I made at the floral art class. It was in practice for a category in the North Devon Show in August. However, I did not enter as we were going on holiday around the same time. This was using flowers and vegetables. Among others, it includes tomatoes, grapes, broad beans, radishes, cherries, parsley, carnations and daisies.

This is one of my favourite displays and one I make regularly, though not always with a Christmas theme. The hoop is actually a bicycle wheel with all the spokes removed. It is covered with hessian and secured to a block of wood. The twigs are attached to the wheel and the rest is added each time. This arrangement includes dried teasels, dusted with Epsom salts to imitate snow, red roses, red carnations and green chrysanthemums. I’ve also added synthetic red berries, fairy lights and fir cones. Oh, and a robin, which is always very Christmassy!

This is Christmas arrangement which I put on my fireplace. It is set in an oblong narrow tray with two oasis blocks. The golden foliage at the back is all synthetic, but the greenery at the front and all the flowers are real. I used orange roses, yellow chrysanthemums, holly, and purple heuchera leaves. I thought the deer made a nice addition.

This is my miniature holly tree – and many people think it is a real standard tree. However, it is not. This is was another challenge at my floral art class and it’s made using an oasis with lots of holly stuck into it. A few synthetic holly berries and decorations complete the look. It lasted for weeks outside my front door.
0 Comments